- 01 Spot it early: the signs of cold exposure
- 02 The four layers of a hypothermia kit
- 03 1. A wind- and waterproof reflective shell
- 04 2. Sustained insulation
- 05 3. Ground and seat insulation
- 06 4. Active warmth for the extremities
- 07 Where to keep each part of the kit
- 08 Where kit stops and first aid starts
- 09 The bottom line
Hypothermia is when the body loses heat faster than it can make it, and its core temperature starts to drop. In the UK it rarely arrives dramatically. It creeps in when someone is wet, tired and windblown on a hill, stranded in a cold car overnight, or sitting in an unheated room during a long winter power cut. The people most at risk — older relatives, young children, anyone unwell or on certain medications — are often the ones least able to warm themselves back up.
A hypothermia kit is not one clever gadget. It is a small, deliberate set of layers that each do a different job: block the wind and rain, reflect body heat back, insulate against the cold ground, and put warmth back into the hands and feet that suffer first. Get the layering right and cheap, ordinary gear will do the work. This guide covers what to carry, where to keep it, and the line where kit stops and first aid begins.
Spot it early: the signs of cold exposure
The earlier you act, the easier it is. Mild hypothermia looks like persistent shivering, cold and pale skin, and someone becoming quiet, clumsy or slow to answer. As it worsens the shivering can stop, speech slurs, and thinking becomes muddled — which is dangerous, because the person often stops recognising they are in trouble. Confusion, stumbling and drowsiness in the cold are red flags. Treat cold exposure seriously well before it reaches that point.
The four layers of a hypothermia kit
1. A wind- and waterproof reflective shell
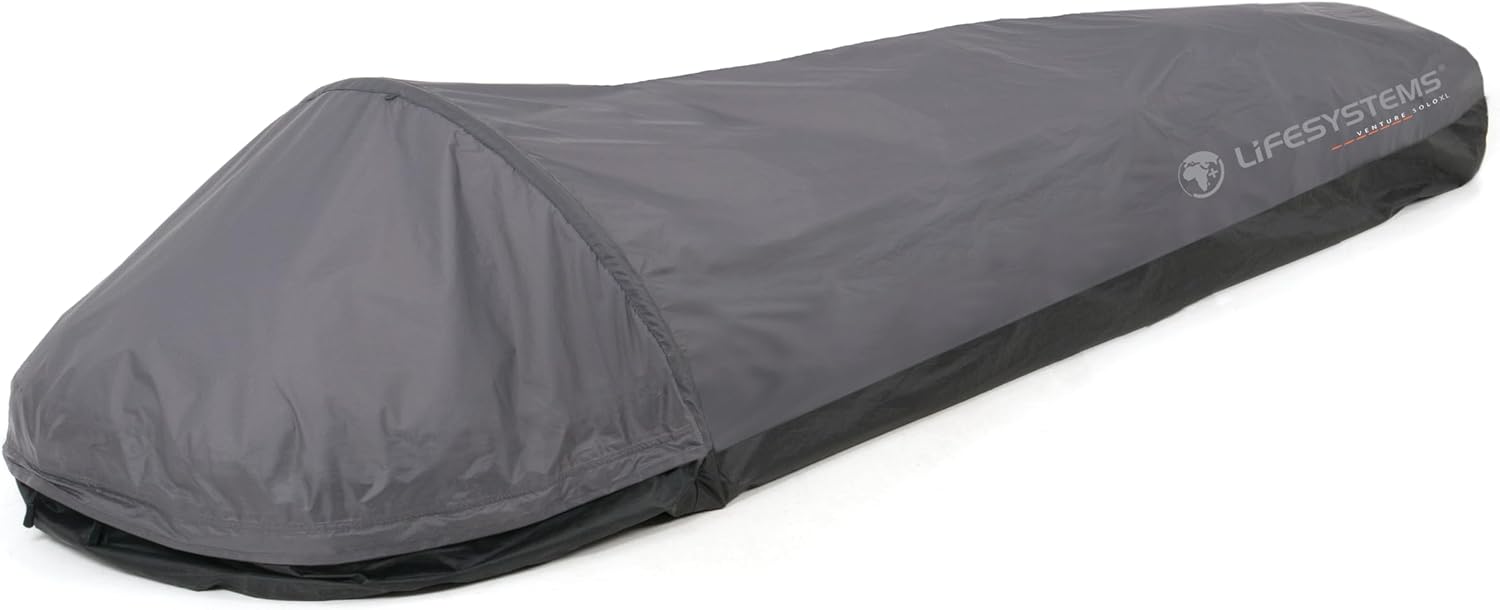
The biggest, fastest heat loss comes from wind and wet. A reflective survival bivvy or foil blanket is the first thing to reach for: it blocks the wind, keeps rain off, and bounces a large share of radiated body heat back at the person inside. A bagged bivvy is far more robust than a thin single-use foil sheet and is worth the small extra bulk. This is the item to keep permanently in a car and a rucksack, because it packs down to the size of a fist and never goes off.
2. Sustained insulation
Reflective layers slow heat loss but do not add much of their own warmth. For anything beyond a short wait you want real insulation: a proper sleeping bag rated for the season, or a dense wool blanket that keeps insulating even when slightly damp. In a home power cut this is the difference between shivering through the night and staying genuinely warm. Wool is a good choice for a car or living room because it is hard-wearing and does not rely on lofted down staying dry.
3. Ground and seat insulation
Cold drains straight out of the body into cold floors, pavements and car seats through conduction. Sitting or lying directly on a cold surface undoes a lot of the work the other layers are doing. A sleeping mat, a folded wool blanket, or even a rucksack under the hips creates a break between the body and the cold ground. Never overlook this layer — it is one of the most common gaps in a cold-weather setup.
4. Active warmth for the extremities
Hands and feet lose heat first and recover last. Air-activated hand and foot warmers give hours of gentle heat exactly where circulation struggles, and they need no power, no flame and no charging. They are ideal for a stranded car, a cold walk home, or keeping a vulnerable person's hands and feet warm during an outage. A rechargeable electric hand warmer doubles as a small power bank, but chemical warmers are the reliable, always-ready backup.
Where to keep each part of the kit
Split the kit by where cold catches you out. In the car: a reflective bivvy or foil blanket, hand and foot warmers, and a wool blanket on the back seat through winter. In a rucksack or grab bag: a bivvy and a few warmer packets, always, all year. At home: a season-rated sleeping bag or two, a wool blanket, a sleeping mat and a stock of warmers as part of your winter power-cut warmth plan. The reflective layers are cheap and small enough to duplicate across all three.
For a ready-assembled version of this, see our best kit for cold exposure and hypothermia, which pairs these layers with specific UK-available products.
Where kit stops and first aid starts
Kit buys time; it does not replace treatment. For mild cold exposure, move the person out of the wind and wet, swap any wet clothing for dry layers, wrap them in the reflective and insulating layers, insulate them from the ground, and give warm sugary drinks if they are fully alert. Warm the core gradually — rapid rewarming or rubbing cold limbs can do harm. If someone is confused, stops shivering, becomes drowsy or cannot be roused, treat it as a medical emergency and call 999. Our guide to hypothermia and cold-injury first aid covers safe rewarming and the warning signs in more detail.
The bottom line
You do not need expensive or specialist gear to be ready for cold exposure. A reflective shell, real insulation, something between the body and the cold ground, and warmers for the hands and feet — kept where the cold is likely to find you — cover the vast majority of UK situations. Build it once, keep a version in the car and the home, and you turn a frightening cold night into a manageable one.